Shared Storage Backends
FlexSDS Cluster Shared Disk Configuration
FlexSDS supports both in-node and shared storage backends. Unlike in-node backends (e.g., local NVMe, SATA SSD, HDD), shared storage—such as IP SAN, JBOF, JBOD, and enterprise SSD arrays—is accessible from multiple nodes across the cluster. Because these devices are shared, the replication mechanism differs significantly from in-node configurations.

Each shared storage device is identified by a unique URI, such as:
nvmf://192.168.0.10/test.iqn/0
pci://0000:02.00.1
Users can add shared storage backends to the FlexSDS cluster by following the steps outlined below.
Add Shared Storage to a FlexSDS Cluster
Using shared storage, FlexSDS acts as a software-defined high-availability storage layer over existing infrastructures like IP SAN, JBOD, or JBOF.
Navigate to Storage Management > Nodes in the FlexSDS management console.
Click on Cluster Shared Disk at the top of the page to open the Shared Disk Management window.
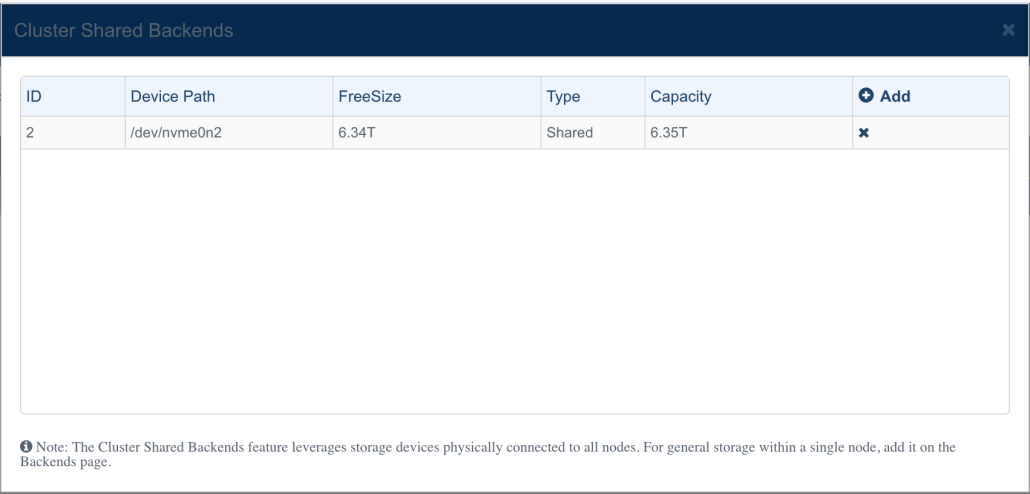
To remove an existing shared disk, click the “X” next to the disk.
To add a shared disk, click the “Add” link.
You’ll then be presented with the “Add Cluster Shared Disk” window, where you can select from the following shared disk types:
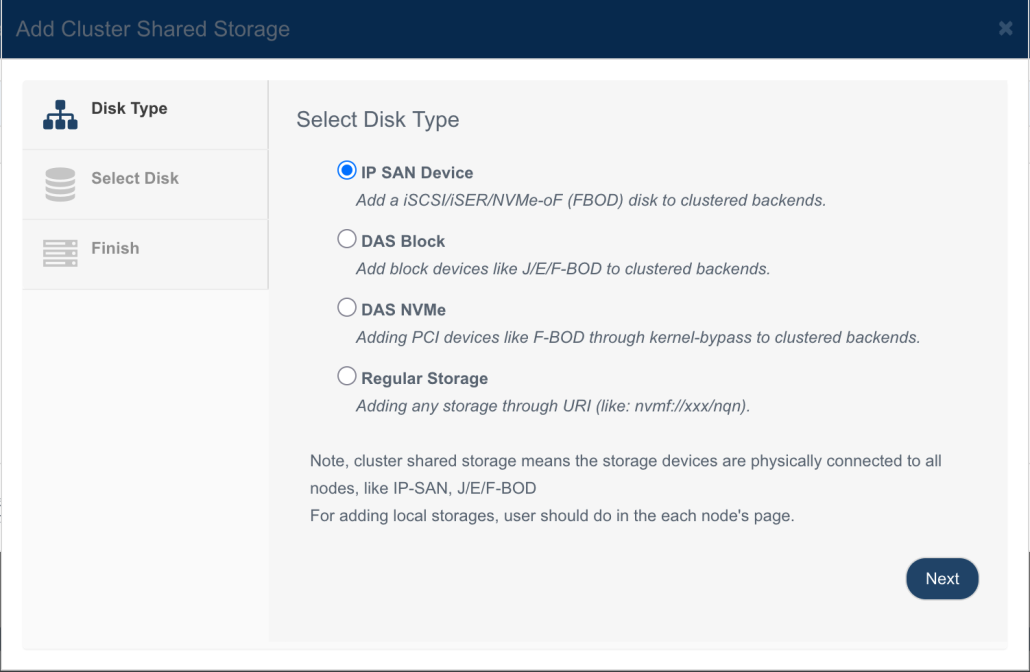
1. IP SAN Device
Add iSCSI, iSER, or NVMe-oF targets.
Select this option and click Next.
Enter the IP address of the SAN device and click Discovery.
Choose the target IQN and LUN from the discovered list.
Click Next to continue.
2. DAS Block Device
For physically shared devices like JBOD, visible as SATA/SAS drives (e.g., /dev/sdd).
Select this option, choose a device from the list, and click Next.
3. Shared NVMe Device
For PCIe-based shared devices (e.g., JBOF) connected to multiple nodes.
Devices appear as NVMe with identifiable PCI paths.
Select this option, choose a PCI device, and click Next.
4. Direct URI Input (Generic Shared Storage)
For advanced users who know the exact URI of a shared device.
Select this option, input the storage URI, and click Next.
Finalizing the Setup
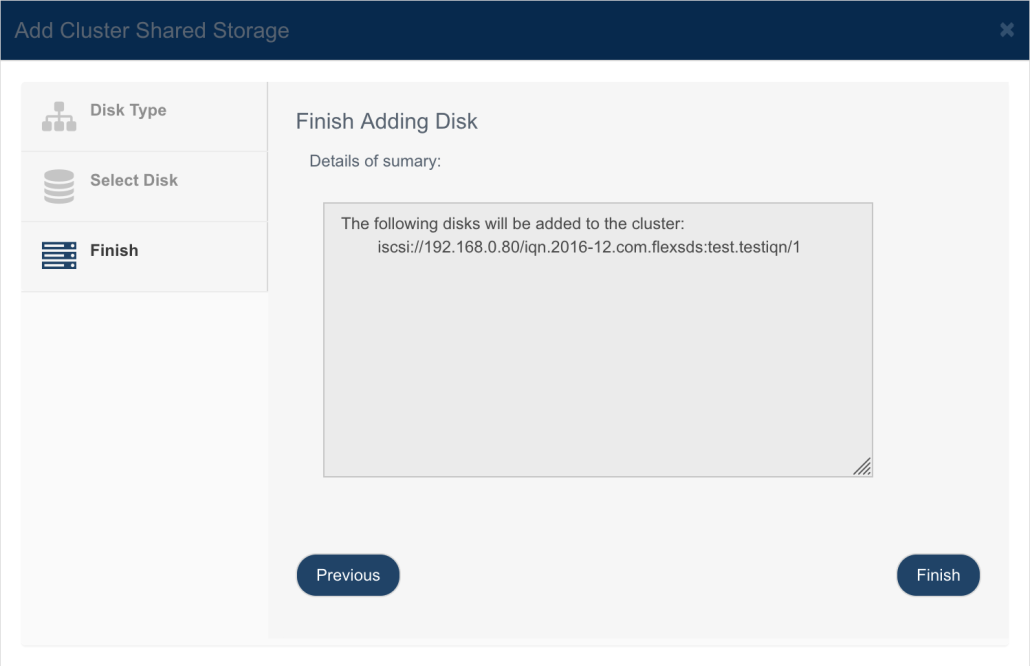
Review the selected devices in the confirmation screen.
Click Finish to complete the shared disk addition process.